Top Contributor (Item Queue)
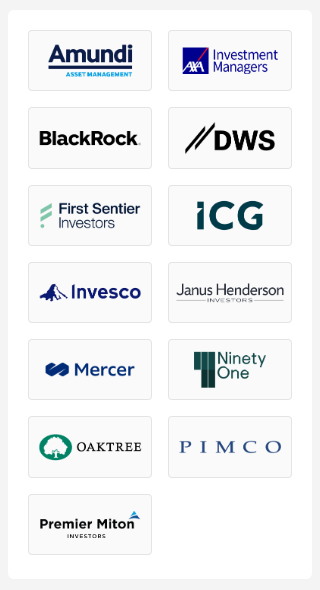
The Item Queue Widget can be used to show a list of logos with a link. This covers a 'Top Contributor' widget, or a 'Sponsored By' widget, or a 'Partners' widget, and any other idea that can use this format.
If you need the Featured Companies from the home page, it's best to add the Top Contributor widget as it'll mean you don't have to duplicate the items from scratch.
Creating your Item Queue
Before you can set up this widget you need to create the Featured Item Queue that will contain the content for it. Go to Admin > Content > Featured Item Queues. For guidance on the logo sizes to add, please see the section at the end labelled Creating the Logos.
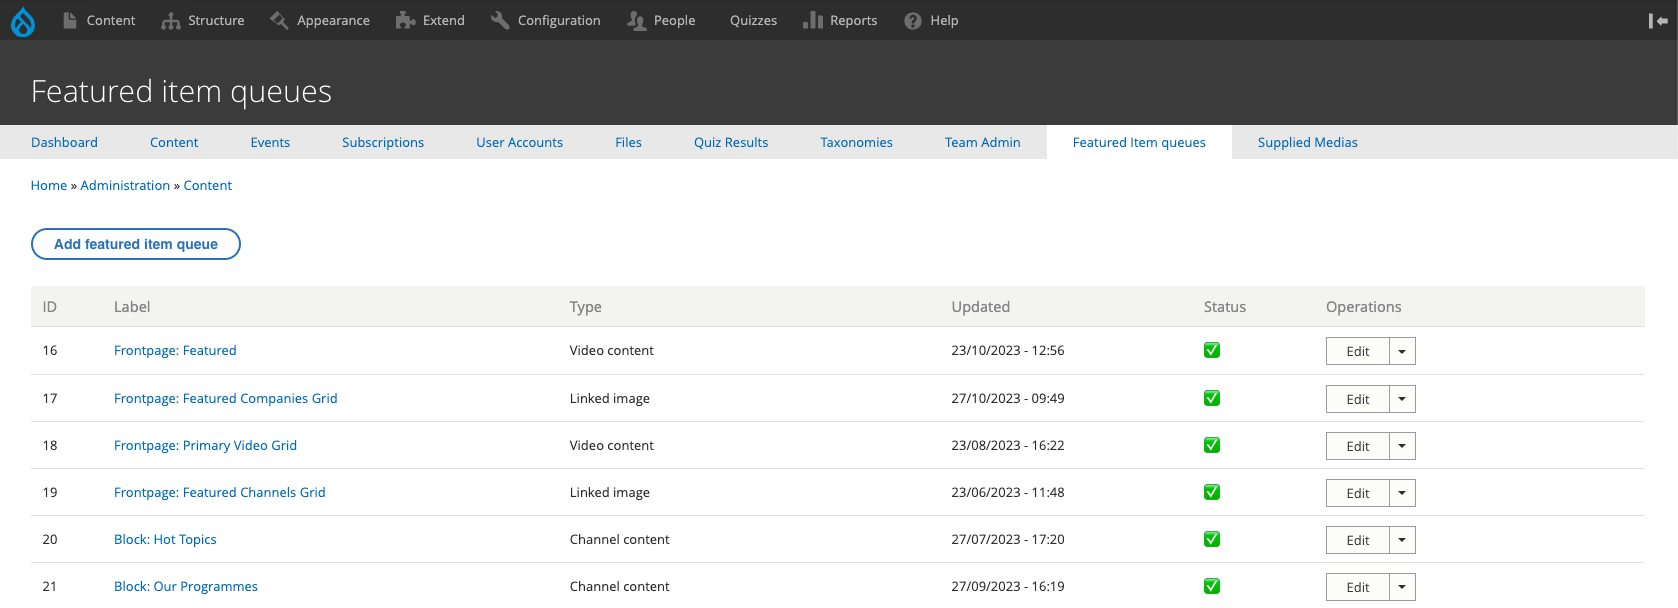
Next click Add featured item queue to create a new one and from the next screen select Linked Image (this is the type of queue we're going to create).
After this you'll be taken to the following screen:
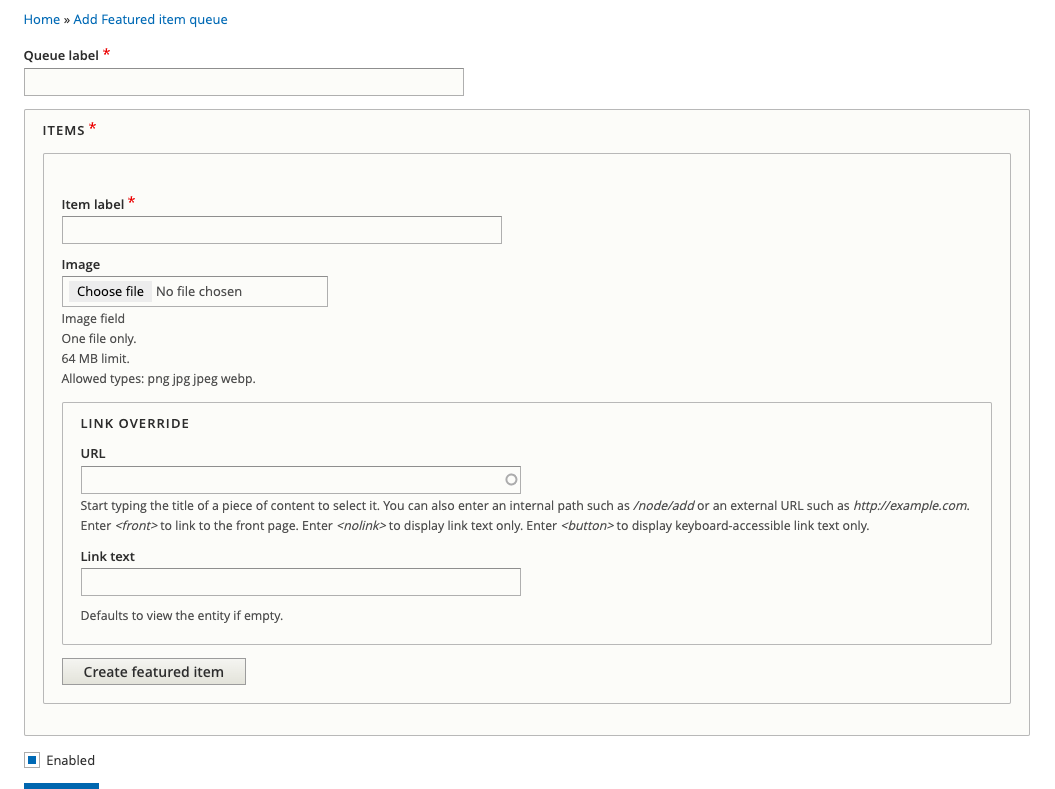
You need to give the Queue a name Queue label, make it something descriptive so you can find in the list at a later date. Some like Masterclass Channel: Top Contributors`**.
In the ITEMS section you need to add the Item Label (this is a required field and must be completed otherwise you won't be able to save the item or the queue).
Then add an Image. If you need to link the item to another page, complete the URL field, then click Create featured item.
To add more item repeat the steps above or follow the guide on how to manage featured item queues.
Info
You don't have to create the Featured Item Queue first, it'll just mean to have to save the widget without adding the queue and adding it at a later stage.
Configuring your widget
Now you need to complete the instructions in the Sidebar guide and select the Element Type as Item Queue.
Once you've done that you'll get a few fields which need to be completed.
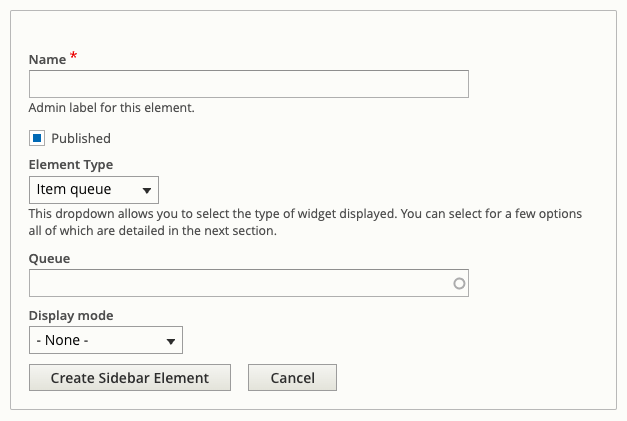
Add a Title for your widget, this'll show on the frontend above the logo list. It could be: Top Contributors, Sponsors, Sponsored by, Partners, etc.
There will be a field called Queue, here is where you attach the Featured Item Queue you created earlier. You can start typing and the autocomplete field will bring up anything that matches what you type.
For the dropdown labelled Display mode you need to select Sidebar image grid.
Now you just Save or Create your widget.
Creating the Logos
To create the logos that you need to use for the Featured Item Queue, there is a template on the Google Drive called Featured Company Logo Template.psd.
Open this template in Photoshop and add the company Logo within the guidelines. If you cannot see the guidelines, go to the menu at the top and click View > Show > Guides.
Once you've added the logo and resized it to fit with in the guidelines, export it as follows:
- Size: 321 x 156 px
- Accepted file types: PNG
- Transparent background
You should only need to export the graphic in PNG format as the sizing should already be set in the template.
If you have any trouble with this please raise a ticket with the web team on the help desk.